Guide: build a system keyboard app
In part 1 of this series, we looked at the steps involved in creating a basic Android app which included a Keyman in-app keyboard. In this post, we'll work with the second sample included in the Keyman Engine for iPhone and iPad package, which is a very basic System Keyboard app. This post builds on concepts and setup from the first post, so be sure you are familiar with that before you start on this one.
1. Basic configuration
As you may recall, the Keyman Engine for iPhone and iPad archive includes two sample projects. This guide will use the second example project, KMSample2.
- The KMSample2 project can be found at samples/KMSample2.
- Double-click KMSample2.xcodeproj to begin, or open it via File > Open to get started.
2. Run the sample app
The KMSample2 app includes the Tamil99M keyboard as an example keyboard. Without any further modifications to the code, the app should run and you'll be able to configure your device to use your app as the system keyboard.
However, due to Apple's code signing policies, you'll need to reconfigure the project a bit first:
- You will need to choose an unreserved App Group name for compilation to succeed. Do a find and replace on "group.KMSample" with your custom name.
- You may also need to alter the Bundle Identifier under the project properties' "General" tab.
- Note that provisioning profiles must be set for both the KMSample2 and SWKeyboard targets.
- The downloaded project does not bundle the frameworks you'll need - make sure to get those in place.
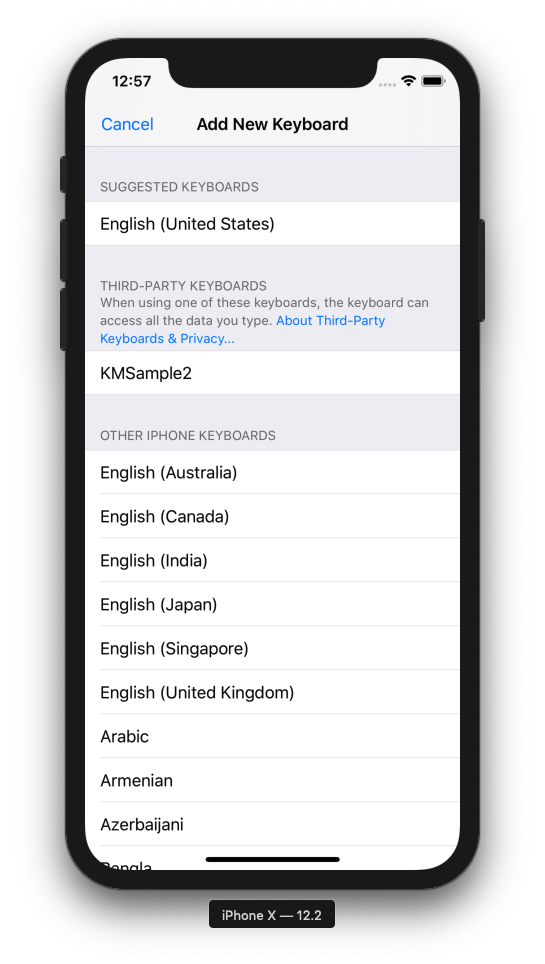
Once all of the pieces are in place, launch the app in Simulator, then back out to the main screen. From there, launch the Settings app and go to General > Keyboards > Keyboards to enable KMSample2 as a system keyboard.
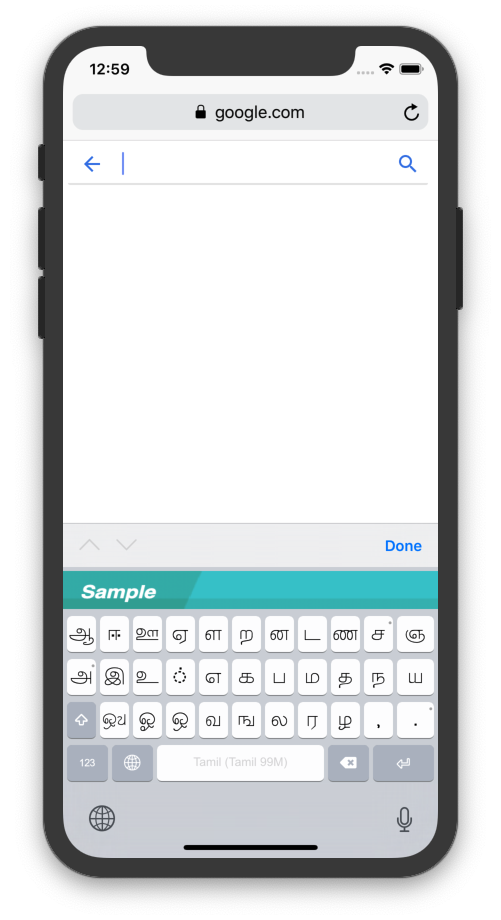
Once that's done, open any app that can accept text input and select KMSample2 as your keyboard! Note that in this sample, the Tamil99M keyboard can be accessed through the keyboard's "globe" key if it is not set active within KMSample2.
3. Extending the app
From here, you will no doubt want to replace the keyboard with your own one; again, follow the instructions from Part 1 to make this change.
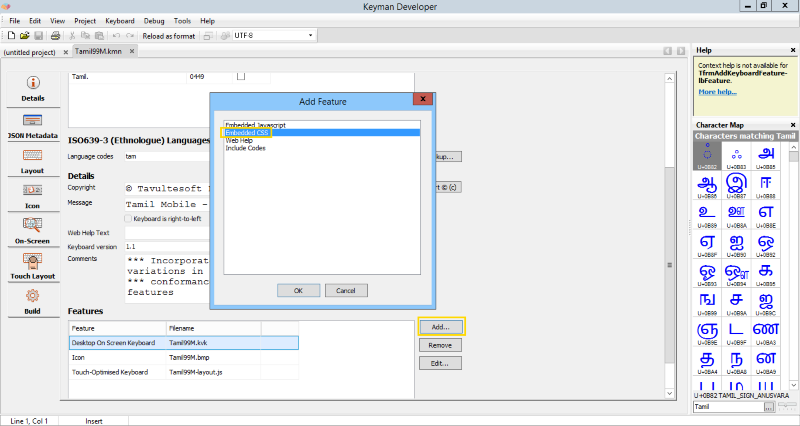
You can also customise the look and feel of the on screen keyboard by including a custom CSS file in your keyboard through Keyman Developer.
The CSS rules required to style your keyboard are beyond the scope of this post, but the kmwosk.css file included in the Keyman Developer 13.0 distribution and in the KeymanWeb 13.0 source is a good place to start. See this reference for more information about the On-Screen Keyboard.
Finally, you will want to improve the style and branding of the main activity in KMSample2. The sample includes a plain banner branding image, which you may want to replace with your own. The app itself is notably plain, and you will probably want to make that a lot prettier and include detailed instructions for users on how to enable the system keyboard on their own. (Unfortunately, apps cannot directly summon the appropriate menu.)
That's all there is to creating a System Keyboard with Keyman Engine for iPhone and iPad. We've taken care of all the complex details of keyboarding in the Keyman Engine, so you can focus on the look and feel and the layout of your keyboard.


