Guide: build an in-app keyboard
Keyman Engine for iPhone and iPad allows you to use any Keyman touch keyboard in your iOS app, or even to create
your own system keyboard app for purchase in the App Store.
This guide will walk you through the steps for creating your first iOS app with Keyman Engine for iPhone and iPad.
If you are not familiar with iOS development, you will find the "Start Developing iOS Apps" online guide by Apple an invaluable resource, and working through some of their tutorials first will help you with the rest of this guide.
1. Install Free Tools
- Install Keyman Developer 10 or later on a Windows machine.
- Alternatively, it is possible to compile keyboards with a command-line tool under WINE, but we do not yet support a GUI interface for keyboard development on macOS.
- Install Xcode.
2. Download the Keyman Engine for iOS and Sample Project
- Keyman 10+ users can download the engine from downloads.keyman.com
Download the latest keyman-engine-ios.zip and extract the files to a new folder.
The archive includes two sample projects and an iOS-targetting .framework file. This guide will use the first example project, KMSample1.
- The KMSample1 project can be found at samples/KMSample1.
- Double-click KMSample1.xcodeproj to begin, or open it via File > Open to get started.
3. Create a keyboard layout
Use Keyman Developer to build a touch layout. The following blog posts walk through some of the development and testing for creating a touch keyboard layout:
- Creating a Touch Keyboard Layout for Amharic with Keyman Developer 12
- Creating A Touch Keyboard Layout For Amharic — The Nitty Gritty
- How to test your keyboard layout with Keyman Developer — touch and desktop
- How to test your touch layout in the Google Chrome mobile emulator
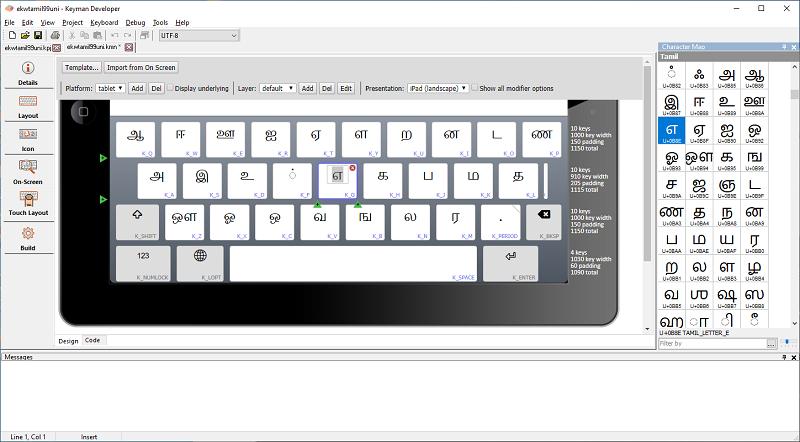
When your keyboard is ready, you should have a compiled keyboard package. The example below shows the Thamizha Tamil99 touch layout.
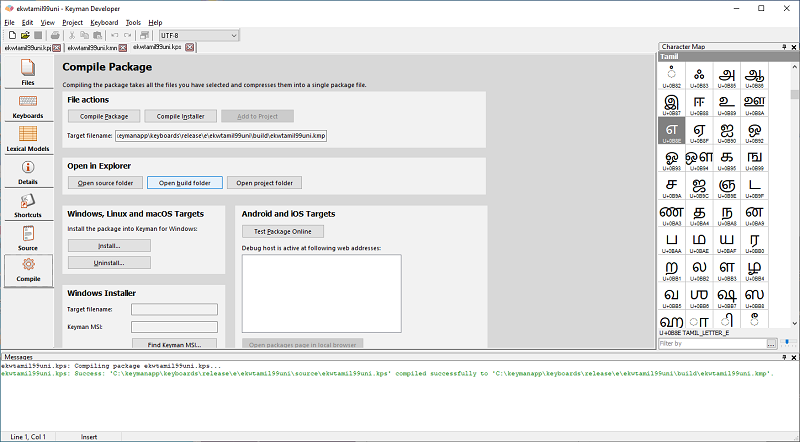
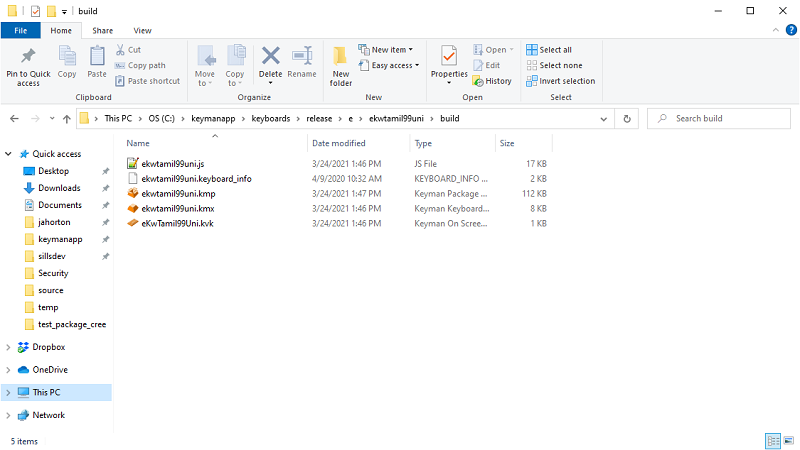
Open the package tab for your keyboard and compile it. Then, open the folder containing your package
4. Add your keyboard package to the project
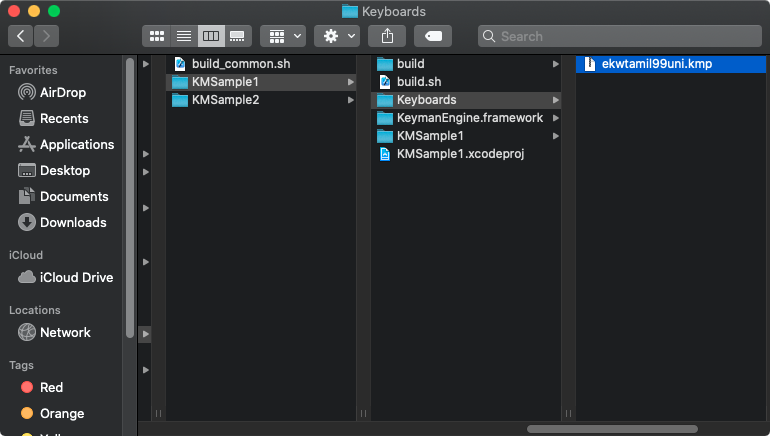
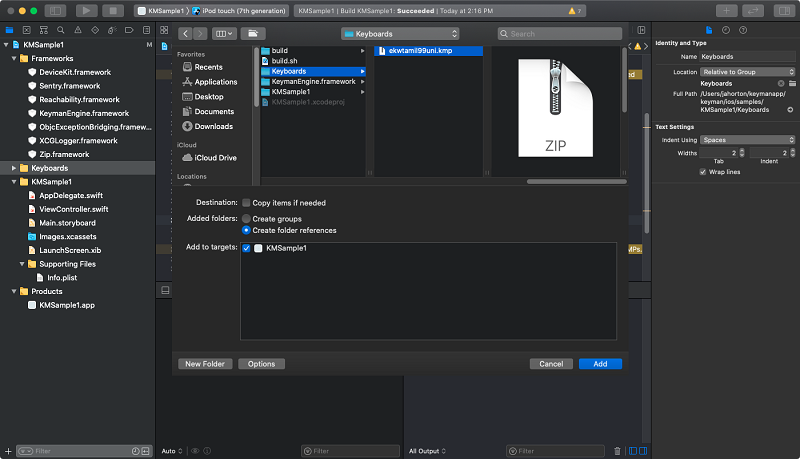
Copy your compiled keyboard package (in this example ekwtamil99uni.kmp) to your macOS machine within the KMSample1\Keyboards folder.
When you switch back into Xcode, use the right-click context menu to "Add Files to 'KMSample1'":
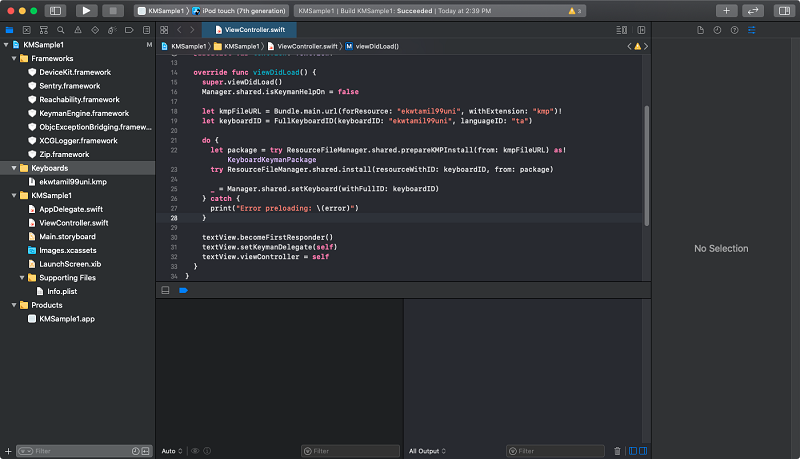
Next, edit ViewController.viewDidLoad() to add the keyboard (ekwtamil99uni) with Manager.shared
from KeymanEngine.framework.
  // Add a custom keyboard
  let kmpFileURL = Bundle.main.url(forResource: "ekwtamil99uni", withExtension: "kmp")!
  let keyboardID = FullKeyboardID(keyboardID: "ekwtamil99uni", languageID: "ta")

  do {
    let package = try ResourceFileManager.shared.prepareKMPInstall(from: kmpFileURL) as! KeyboardKeymanPackage
    try ResourceFileManager.shared.install(resourceWithID: keyboardID, from: package)

    _ = Manager.shared.setKeyboard(withFullID: keyboardID)
  } catch {
    print("Error preloading: \(error)")
  }
5. Build and run the app
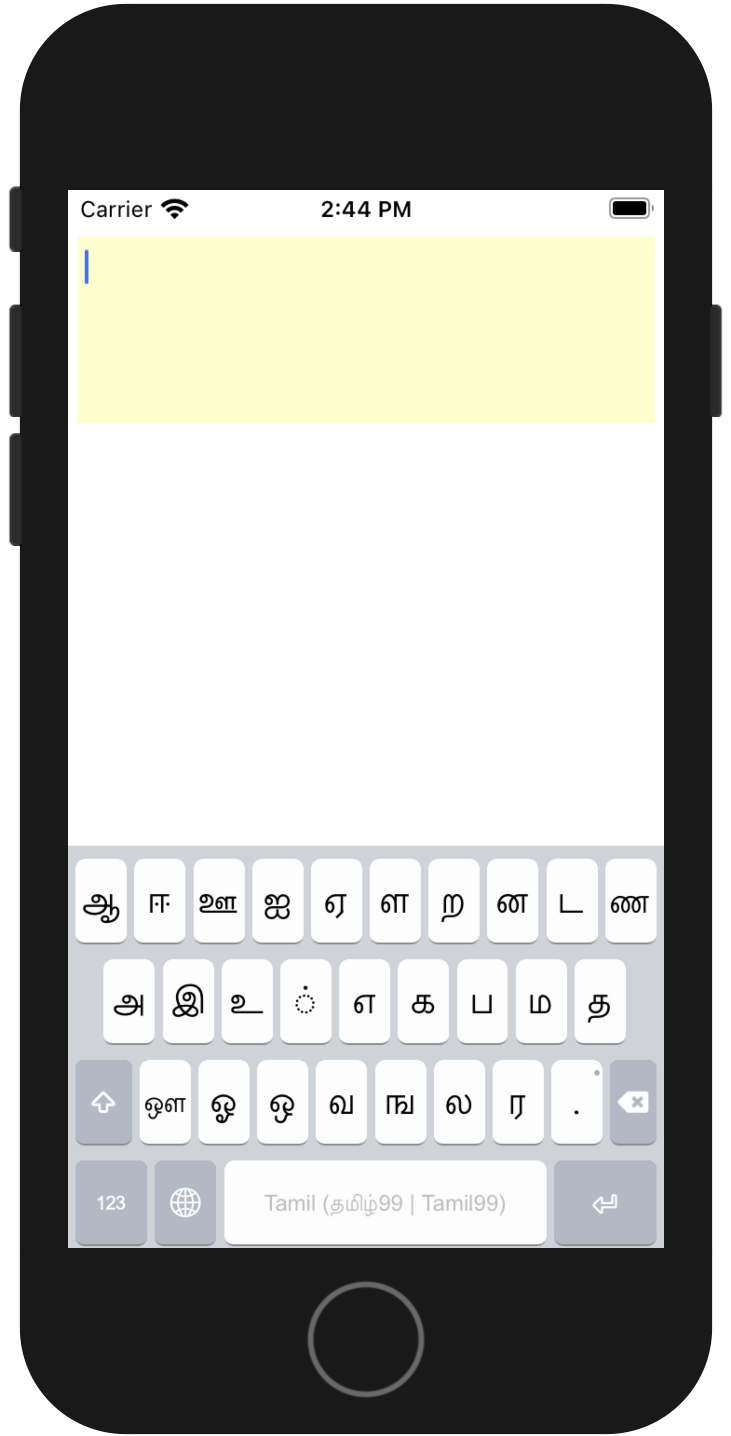
You can run your app through Xcode's built-in Simulator, which can emulate a number of iOS devices. Simply choose a target device to test against from the drop-down toward the top-left. For example, in the previous image, you can see "iPod Touch (7th generation)" selected.
And there you have it: your first Keyman Engine for iPhone and iPad app!


